Love in the Kitchen - making fast, healthy, homegrown meals you'll enjoy

Thursday, October 31, 2013

Halloween Candy Popcorn Bars


What do you do with your leftover Halloween candy?  Instead of hauling all of it to the office or hiding it in a drawer, transform it into these fantastic bars!


Halloween Candy Popcorn Bars


Ingredients:

  • 1/2 cup unsalted butter, softened
  • 1/3 cup sugar
  • 1 teaspoon vanilla
  • 1 cup all-purpose flour
  • 3/4 cup chopped pecans
  • 2 cups chocolate and caramel candy {I used Rollos, but any leftover chocolate candy would be great here}
  • 1 1/2 cups popped salted popcorn

Directions:

Preheat oven to 375°F.

Cream butter and sugar in a medium bowl until light and fluffy. Stir in vanilla and flour and mix thoroughly.  Mix in the nuts.

Spread the dough evenly with your fingers into an 8-inch square baking pan.

Bake until shortbread turns lightly golden, 12 to 18 minutes.

Set  the baking pan on a cooling rack while you prepare the filling.

Melt the candy in the microwave and stir until combined.  Spread over the warm shortbread crust.  {you may need to use your hands to spread the candy evenly - take care, it will be hot!}

Press the popcorn into the melted candy mixture.  Let cool completely.

Cut into squares and enjoy!


Sweet and salty, with lots of texture from the popcorn and the nuts, this is a super-tasty way to use that leftover candy.


That is, if you actually end up with any leftover candy.


And if you don't?  Buy a bag just to make these bars.  It will be worth it.


zentMRS - Love in the Kitchen
Pin It

Wednesday, October 30, 2013

Zombie Bait Cupcakes

If you are trying to evade a zombie horde, you might want to make a batch {or several} of these, put them where you aren't, and the zombies will go for them instead of you.

And if you aren't trying to evade a zombie horde - definitely eat these cupcakes!  They are to-die-for delicious.  {may even be worth it if you are going to have to become a zombie}


Zombie Bait Cupcakes


Cupcakes

  • 2 2/3 cup all purpose flour
  • 1 1/2 cups sugar
  • 1 tablespoon baking powder
  • 4 egg whites
  • 1 cup whole milk
  • 1 tablespoon vanilla
  • 2/3 cup salted butter, softened

Preheat oven to 350 degrees.

Sift flour, sugar and baking powder into a large mixing bowl and then mix together on low.

In another bowl, stir egg whites, milk and vanilla together.  Add butter to the flour mixture and mix together. As it starts to combine, slowly pour the milk mixture in and mix until completely combined.

Line a muffin tins with 16 baking cups.  Fill baking cups a little more than halfway. Bake for about 15 minutes or until cupcakes bounce back when touched lightly.  Remove and cool. Makes about 16 cupcakes.


Frosting

  • 1 cup butter, softened
  • 1 teaspoon vanilla
  • 4 cups confectioner’s sugar
  • 4 teaspoons milk
  • pink (or red) food coloring
  • cupcake wrappers (either purchase them or print your own - like these)

Beat butter and vanilla together.  Add sugar slowly and beat until combined.

Scrape down the sides and add milk. Mix until smooth and creamy.  Add pink food coloring a drop at a time to make a light pink frosting {zombies might sense a trap if the frosting is too pink}


Fill a piping bag with the frosting.  Pipe a base of frosting onto each cupcake.  Then, starting at one end of each cupcake on the top, make a line of frosting on the other side.  Then zig-zag back to where you started. Repeat with the other side to finish the brains!  Repeat until all of the cupcakes are "brained".


Slip the cupcakes into the cupcake wrappers and get ready for the invasion!


I predict that these will be gone immediately - zombies or not.


zentMRS - Love in the Kitchen
Pin It

Tuesday, October 29, 2013

Key Lime Coconut Frankenstein Cookies


Are you looking for a last-minute Halloween treat?  These {frightfully} delicious cookies were a cinch to make.  I always keep some cookie mixes on hand (I like to browse the clearance area at the grocery store and Target for seasonal mixes) and this Key Lime cookie mix from Pillsbury looked {monstrously} good.


Key Lime Coconut Frankenstein Cookies

Ingredients:

  • Key Lime Cookie Mix
  • 1 stick butter
  • 1 egg
  • 1 cup sweetened flaked coconut
  • green food coloring
  • Wilton Candy Eyes
  • Black decorating icing


Directions:

Mix the cookie mix, butter and egg together until combined.  Add the coconut and stir until incorporated, then add green food coloring (4- 8 drops) until the desired "green-ness" is achieved.

Preheat the oven to 350F.  Separate into 24 1 1/2 inch balls, then flatten and shape into rectangles.  Place on  a silpat covered cookie sheet.  Add two eyes to each cookie.

Bake for 9-12 minutes, until the edges just begin to brown.  Let rest for 2 minutes on the pan, then transfer to cooling rack and cool completely.

Decorate with icing by adding the hair, mouth and bolts to each face.  Let the icing set, then enjoy!


{Not sure why, but a couple of the eyes kind of fell off the side of the cookies - even creepier!}


So these were absolutely delicious!  Everyone wanted to try them because they were {scarily} darling - and they wanted seconds because they were so tasty.  The sweet coconut really balanced perfectly with the bright citrus flavor of the key lime.  And it gave the cookies an extra, almost oatmeal-cookie-like texture.


Sufficient to say these were a hit at the office - gone by 10am.  Next year I think I'll have to double the recipe!


zentMRS - Love in the Kitchen
Pin It

Monday, October 28, 2013

Tuesday's Table for October 29, 2013 - And a *Giveaway*!!


Time to fill Tuesday's Table!

Thanks to everyone who linked up last week.  For this week, I chose Sherry K at Jazzy Gourmet's Apple Peeling Tip as my feature.  Sherry is so clever and shares wonderful tips - I just love her site!  You need to head over and see this video.!


Please grab a button  - and thanks so much for sharing!

We also had a giveaway last week.  Picked randomly, the winner is <drumroll>

#22-Ashley from Pioneer Momma!</drumroll>  Please send me your mailing address and I'll get that out to you right away.


Here's what I'll be giving away this week:

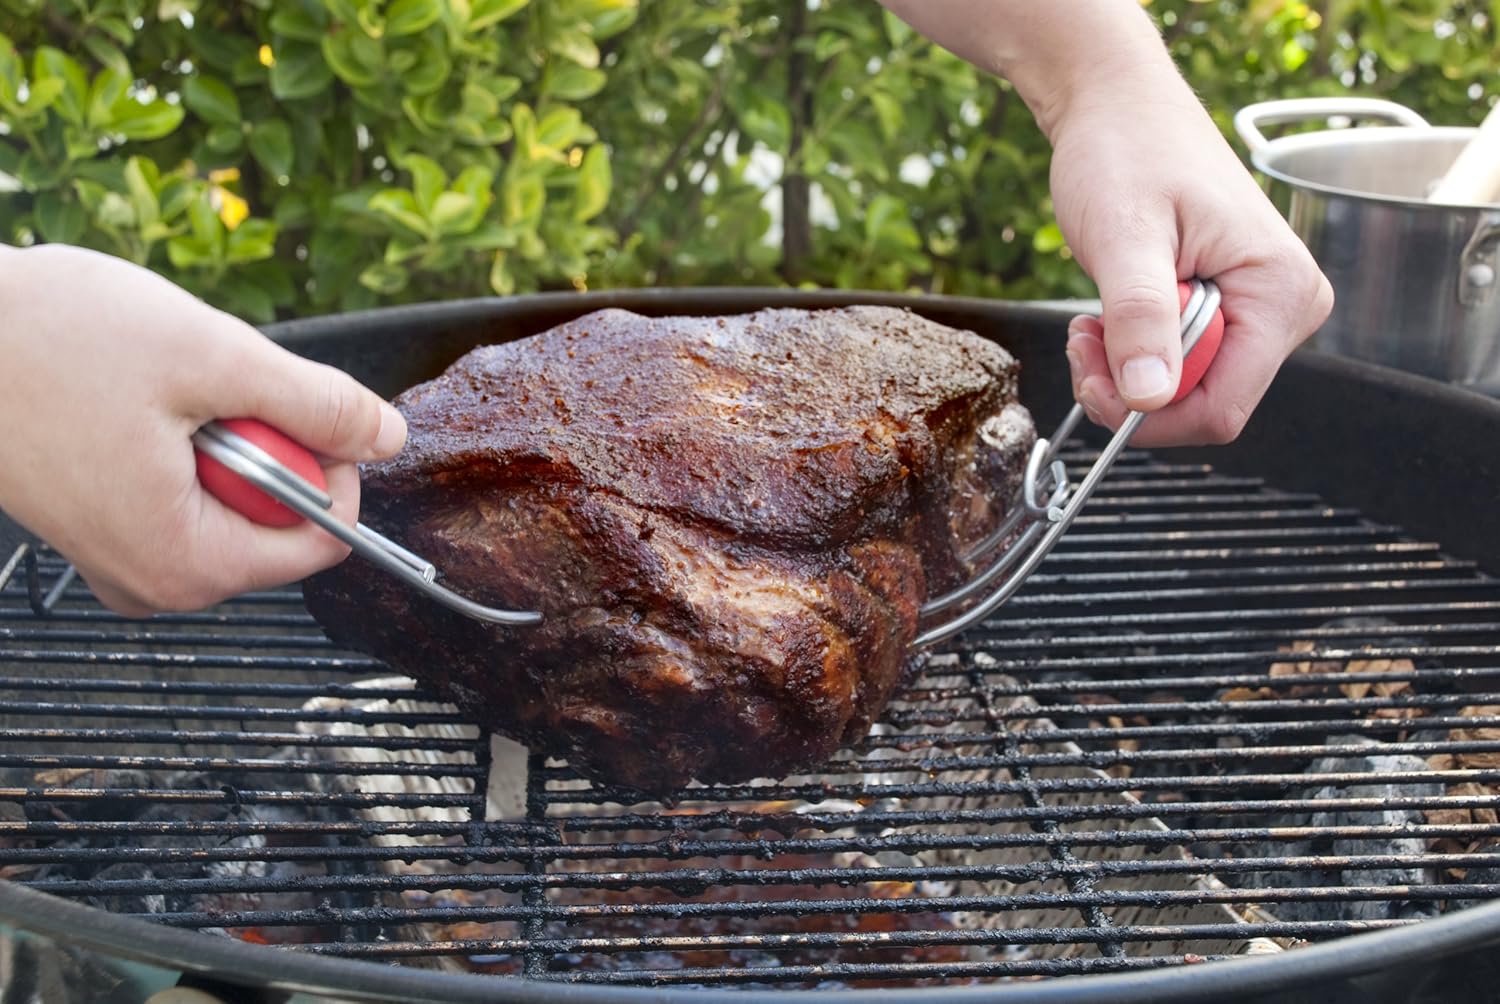
Stainless Steel Meat Claws Lifter with Soft Grip Handle


To enter, link up your recipes, crafts and ideas. And for each link you add, you will get one entry. And if you send over a friend who follows me and adds a comment telling me who sent them, you get an extra entry!

Only a few guidelines:
  • Please share as many links as you like, but only if you haven't shared them here before
  • Add a link back to Tuesday's Table (or grab a button above!) so others can join in the fun
  • Follow me via Facebook, Pinterest, Twitter, Google+, RSS or Bloglovin (see my sidebar!)
No other requirements, but visit the other links here, and I'd love for you to sign up for my email reminder here!

And now, for this week's link party!


zentMRS - Love in the Kitchen
Pin It

Saturday, October 26, 2013

Chocolate Covered Pumpkin Pie Fudge


I'm joining Carrie at Frugal Foodie Mama in celebrating HalloWonderful Week!  I love Halloween, and I love all things pumpkin.  Today I am sharing one of my favorite Halloween treats - Chocolate Covered Pumpkin Pie Fudge.  Decadent fudge, laden with pumpkin pie spice and then covered with a thick layer of even more decadent chocolate.  Oh my!

I have to warn you - this is insanely good fudge.  Chocolate fiends love it.  Likewise for those who are all about pumpkin.  Even folks who say they don't really like pumpkin love this fudge  - the pumpkin pie flavor really shines through.  Amazingly good.  And wow is it ever rich!

Fudge isn't that hard to make either.  Here's how to do it:


Chocolate Covered Pumpkin Pie Fudge

Ingredients:

  • 3/4 cup granulated sugar
  • 2 1/4 cups packed light brown sugar
  • 3/4 cup salted butter, cut in to pieces
  • 1 1/4 cups canned pumpkin
  • 2/3 cup evaporated milk
  • 2 tablespoons maple syrup
  • 2 tablespoons pumpkin pie spice
  • 8 ounces white chocolate chips
  • 3 1/2 cups miniature marshmallows
  • 1 teaspoon vanilla extract
  • 8 ounces dark chocolate (chopped, or high quality chips)
  • 1/2 cup heavy cream


Directions:

Line the bottom and sides of an 8x8 square pan with parchment paper or foil.  Allow parchment paper to overhang the edges, so it can be used to lift the fudge from the pan in the end.  Spray with non-stick spray.

Stir together the sugars, butter pieces, pumpkin, evaporated milk, maple syrup and spice in a 3 1/2 quart saucepan.  Bring to a boil, stirring constantly, over low to medium high heat. Continue to cook, stirring occasionally, until a candy thermometer reaches 234 degrees F (soft-ball stage).


Take the time to do this part slowly so that the fudge does not burn or overcook.  You could end up with very very hard fudge.  Which still tastes good, but isn't as easy to eat.


Once the fudge has reached the correct temperature, remove the pan from the heat.  Stir in the white chocolate chips, mini marshmallows and vanilla until incorporated completely.

Pour the fudge into the prepared pan.  Cool for 15 minutes - and make the chocolate covering.


This chocolate covering is super-easy to make.  And delicious.  You'll want to make it for everything.  {Maybe that's just me.}  Put the chocolate in a small bowl.  In the microwave, bring cream to a boil.  Pour boiling cream over the bowl of chocolate.  Allow to sit for 2 minutes, and then stir until thoroughly combined, smooth and shiny.


Now pour chocolate over the fudge, and let cool until the fudge is at room temperature.


Refrigerate for at least 2 hours.  Lift the fudge from the pan with the overhanging parchment paper.

With a sharp knife, cut in to 1" squares.  This may seem small, but 1" is enough. {And if it isn't,  you can have two!}  Store fudge in the refrigerator.  Best when served at room temperature.


I say "store" like you will have any left to put into the refrigerator.


You just won't.

This is a must-make recipe.  You'll be a hero!


zentMRS - Love in the Kitchen
Pin It

Friday, October 25, 2013

12 Great Breads to Bake Today!


Now that fall is finally settling in here, I'm getting the itch to bake some bread.  Today I wanted to share some of my favorite recipes with you.

From top to bottom, here they are:

Apricot Filled Cardamom Bread  This is a family holiday favorite, with my own twist.  Great for breakfast.

Amish Friendship Bread  Like a chain letter, but with bread.  Fun and delicious!

Sweet Potato Yeast Bread  This is wonderful!  It is just the right blend of flavors, a little sweet, a little savory.  The sweet potato adds moisture and a nice delicate texture.

Herb and Garlic Monkey Bread Monkey Bread doesn't have to be just for breakfast.  This is a fun way to serve fabulous garlic bread.

Whole Wheat Bread for the Bread Machine Easy, healthy, tasty... any questions?

Sourdough Bread  Almost like sourdough straight from San Francisco.  But you don't have to fly.

Rosemary Focaccia  This is one of my all-time favorite bread recipes.  You need to plan ahead as it sits overnight, but it is so very worth the effort.

Habanero Honey Bread  A little bit sweet, a little bit spicy, a whole lot yummy!

Amazing Pizza Crust  I believe crust is the most important part of a pizza, and this one is simple to make, but just amazing.

Santa Bread  This guy is so easy to make and so darling.  How could you resist having this on your holiday table?

Pumpkin Banana Bread  This smells like fall when you bake it.  And you just have to bake it.

Old Fashioned Italian Bread  A classic - light and delicious.


Does this inspire you to bake some bread today?


zentMRS - Love in the Kitchen
Pin It

Thursday, October 24, 2013

Chicken and Dumplings


Is there any better comfort food than Chicken and Dumplings?  This recipe makes traditional chicken and dumplings - just a little faster and a little healthier.

Chicken and Dumplings

Ingredients:
  • 2 1/2-pounds boneless skinless chicken breasts
  • 8 cups chicken broth
  • 1 large onion, chopped
  • 4 large carrots, sliced into rounds
  • 1 can cram of chicken soup
  • 2 cups frozen corn
  • 2 cups frozen peas
  • Salt and pepper to taste
  • 2 cups all-purpose flour
  • 1 teaspoon salt
  • Ice water


Directions:
To start the chicken:  Spray the bottom of a large pot with cooking spray, and heat over medium heat.  Add the chicken breasts and saute for 3 minutes. Turn and saute for another 3 minutes.


Add the chicken broth and bring to a simmer over medium heat. Add the carrots and onion and simmer for about 15 minutes.


To start the dumplings:  Mix the flour with the salt and mound together in a mixing bowl. Beginning at the center of the mound, drizzle a small amount of ice water over the flour. Using your fingers, and moving from the center to the sides of the bowl, gradually incorporate about 3/4 cup of ice water. Knead the dough and form it into ball.


While the dough is resting, remove the chicken from the pot and cut into bite-sized pieces.  Return the chicken to the pot, add the cream of chicken soup, corn and peas, and simmer over medium-low heat.


Dust a clean work surface with flour. Roll out the dough (it will be firm), working from center to about 1/8-inch thick, and let the dough rest for several minutes.

Cut the dough into 1-inch pieces. 


Pull a piece in half and drop the halves into the simmering soup. Repeat. Gently move the pot in a circular motion so the dumplings become submerged and cook evenly. Cook until the dumplings float and are no longer doughy, 5 to 10 minutes.  Add salt and pepper to taste.


To serve, ladle chicken, gravy, and dumplings into warm bowls.


This was exactly what I wanted - old-fashioned, but guilt-free.  And you can scale this up quickly - just add more vegetables or more chicken breast!


If you are looking for a wonderful comfort food, try this.  You won't be disappointed!


zentMRS - Love in the Kitchen
Pin It

Tuesday, October 22, 2013

Black Forest Cherry Whoopie Pies


We had some wonderful traditional Oktoberfest food the other night.  We made curry wurst (one of my very favorites) and pretzels.  And some German beer of course.

I wanted dessert that was traditional, but portable.  And I figured what could be more traditional than Black Forest Cherry Cake and more portable than whoopie pie?  {Well, that and I really like chocolate and cherry and cookies and marshamallowy cream...}

And so, Black Forest Cherry Whoopie Pies were born.  Here's how I did it:


Black Forest Cherry Whoopie Pies

Ingredients:

  • 1/2 cup butter
  • 1 cup brown sugar, packed
  • 1 teaspoon baking powder
  • 1/2 teaspoon baking soda
  • 3/4 teaspoon salt
  • 1 teaspoon vanilla extract
  • 1 large egg
  • 1/2 cup Dutch-process cocoa
  • 2 1/3 cups Flour
  • 1 cup milk
  • 1 cup vegetable shortening
  • 2 cups confectioners' sugar
  • 1 1/3 cups marshmallow creme
  • 1/4 teaspoon salt dissolved in 1 tablespoon water
  • 3/4 cup cherry pie filling
  • 1 1/2 teaspoons vanilla extract


Directions:

  1. Preheat the oven to 350°F. Lightly grease (or line with parchment) two baking sheets.
  2. In a large mixing bowl, beat together the butter, sugar, espresso powder, baking powder, baking soda, salt, and vanilla till smooth. Add the egg, again beating till smooth.  Add the cocoa, stirring to combine.
  3. Add the flour and milk, beating till smooth, scraping down the sides as necessary.
  4. Drop the dough by the spoonfuls about the size of golf balls onto the prepared baking sheets, leaving room between the cakes; they'll spread. {Try to keep the cakes as uniform in size as possible since these will make sandwiches.}
  5. Bake the cakes for 10 to 12 minutes, till they're set and firm to the touch. Remove them from the oven, and cool on the pans. While still warm, use a spatula to separate them from the pan or parchment; then allow to cool completely.
  6. Meanwhile, beat together the shortening, sugar, and marshmallow until well combined.
  7. Dissolve the salt in the water, and add to the marshmallow mixture. Add the cherry pie filling, vanilla, and beat till smooth.
  8. Spread the flat side of half the cakes with the filling. Top with the remaining cakes, flat side towards the filling. 


These were very tasty - reminiscent of black forest cherry cake, but on that you can hold in your hand.  Chocolate, cherry and marshmallow cream.  What's better than that?!


zentMRS - Love in the Kitchen
Pin It

Monday, October 21, 2013

Tuesday's Table for October 22, 2013 - And a *Giveaway*!!


Time to fill Tuesday's Table!

Thanks to everyone who linked up last week.  For this week, I chose Kneaded Creation's Pumpkin-Gingerbread Struesel Muffins as my feature.  These look perfect for fall - and can take me right into the holiday season!  You need to head over and see this recipe.!


Please grab a button  - and thanks so much for sharing!

We also had a giveaway last week.  Picked randomly, the winner is <drumroll>

#27-The Coconut Head's Survival Guide!</drumroll>  Please send me your mailing address and I'll get that out to you right away.


Here's what I'll be giving away this week:

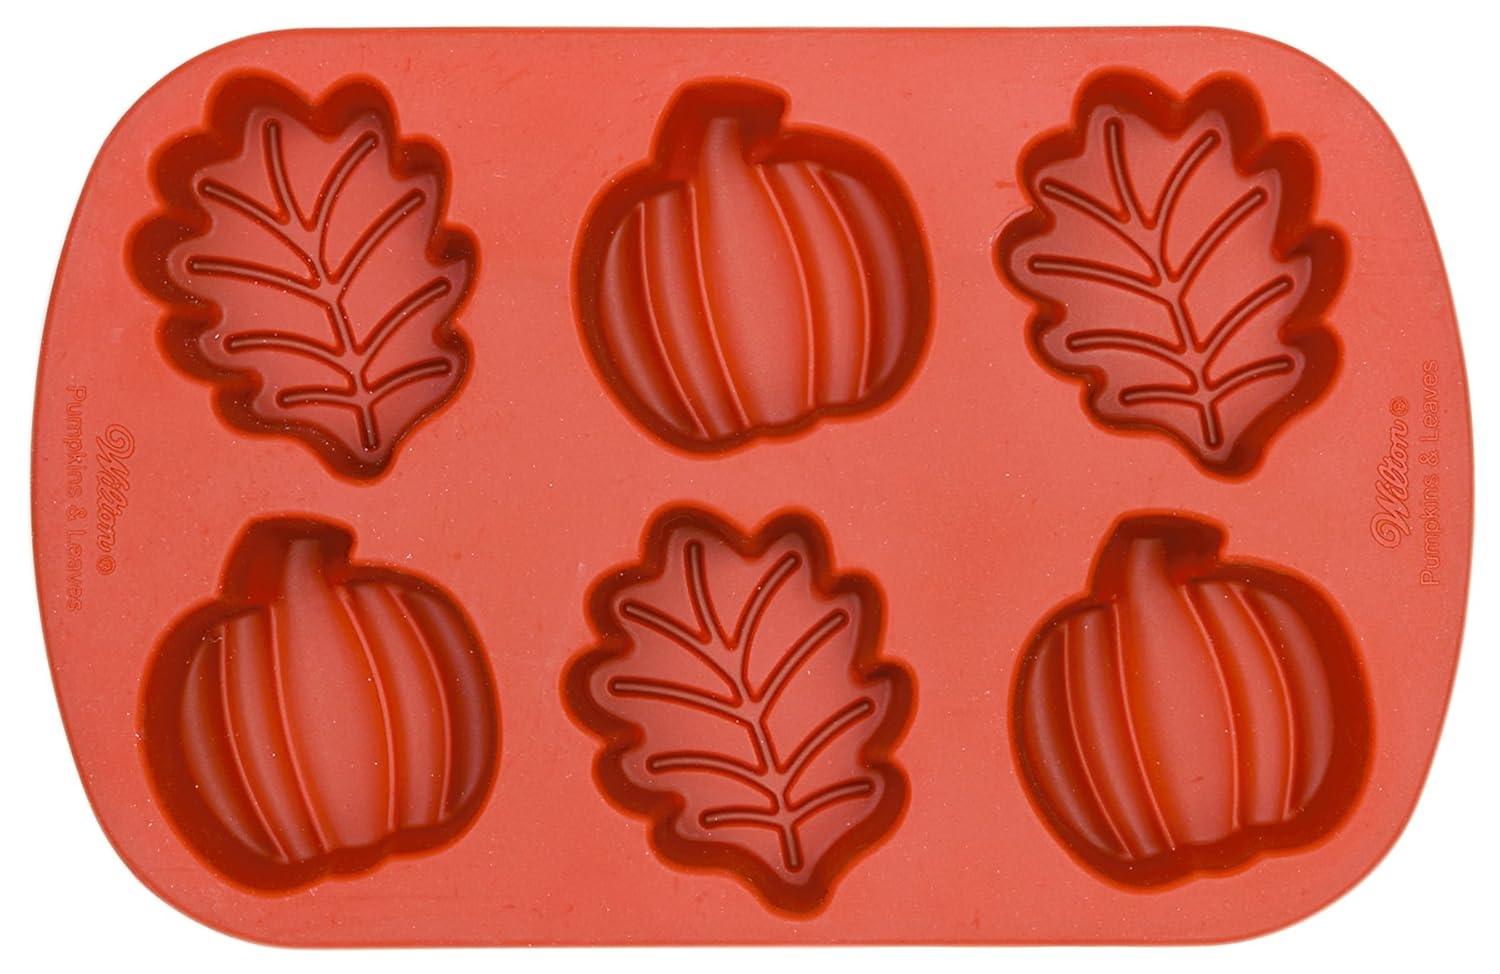
Wilton 6-Cavity Mold Pan


To enter, link up your recipes, crafts and ideas. And for each link you add, you will get one entry. And if you send over a friend who follows me and adds a comment telling me who sent them, you get an extra entry!

Only a few guidelines:
  • Please share as many links as you like, but only if you haven't shared them here before
  • Add a link back to Tuesday's Table (or grab a button above!) so others can join in the fun
  • Follow me via Facebook, Pinterest, Twitter, Google+, RSS or Bloglovin (see my sidebar!)
No other requirements, but visit the other links here, and I'd love for you to sign up for my email reminder here!

And now, for this week's link party!


zentMRS - Love in the Kitchen
Pin It