Love in the Kitchen - making fast, healthy, homegrown meals you'll enjoy

Thursday, November 28, 2013

Black Friday Giveaway!

Check some things off your holiday list {or off of your own wish list... we won't judge} - enter  this Black Friday Giveaway!


42 blogs are bringing you an amazing giveaway to get your holiday season underway! We're hoping to make the holiday season easier for one of our lucky readers, $500.00 worth of easier that is! 

The winner will be able to choose from an XBOX 360 Kinect Nike+ Bundle, a Kindle Fire HD 8.9", or a KitchenAid 5 Quart Stand Mixer in the color of your choice! Oh and to top it all off, we're going to give you the difference in an Amazon gift card to make your grand prize total $500.00

For example, if you choose the Kindle Fire HD 8.9" as your prize, it's $229.00. 
$500.00-$229.00=$271 Amazon gift card. 
Amounts based on price at time of shipment.

Sounds like something you'd like to win, right? Well, without further rambling, on to the giveaway! Good luck!


zentMRS - Love in the Kitchen
Pin It

Happy Thanksgiving!!


zentMRS - Love in the Kitchen
Pin It

Wednesday, November 27, 2013

Get Your Holiday Bake On Giveaway

Pin It

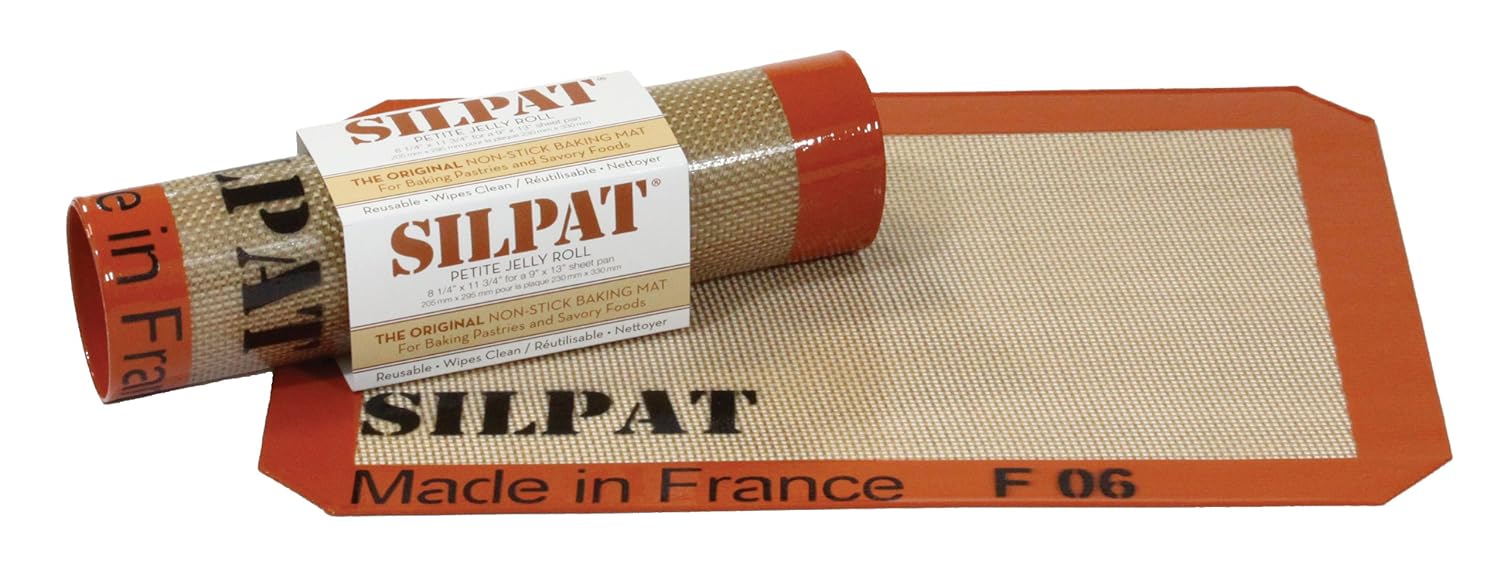
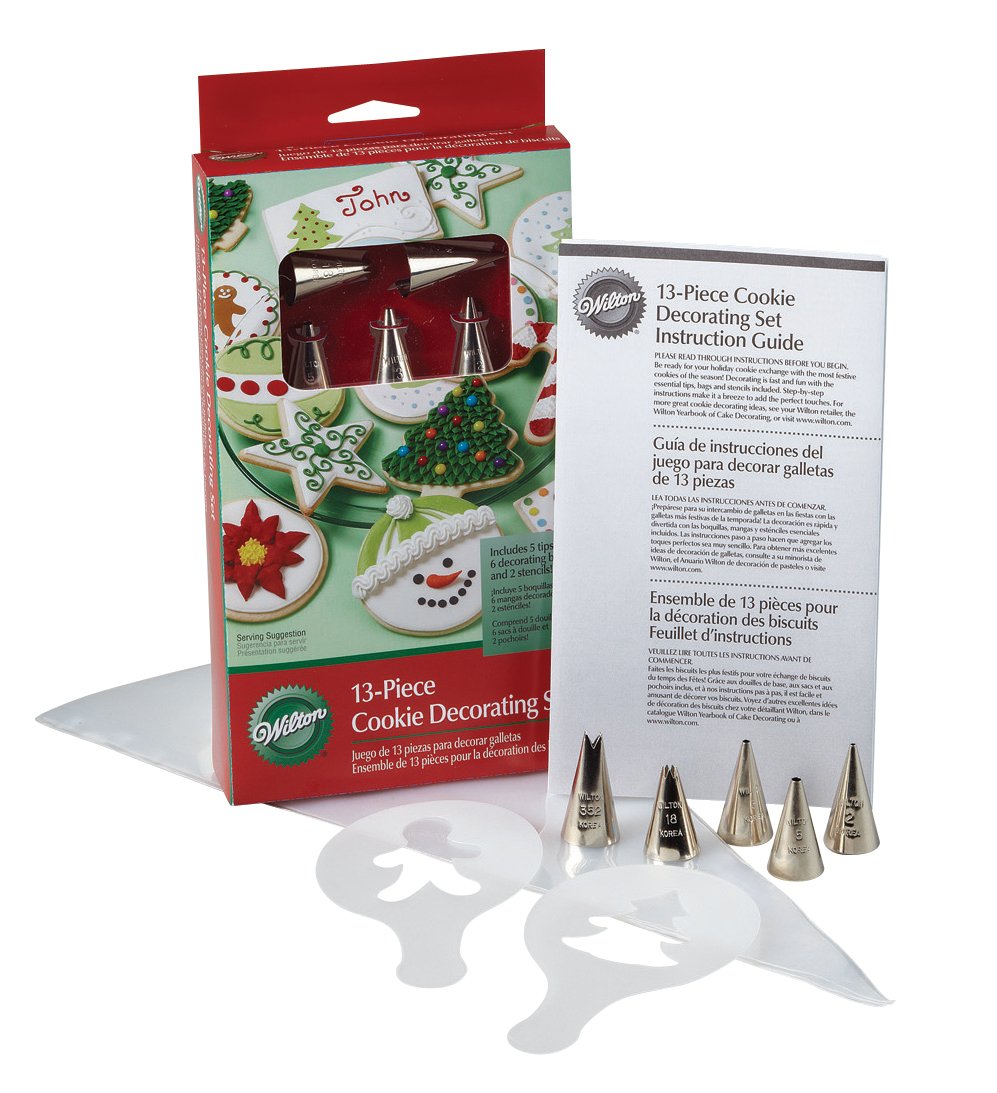
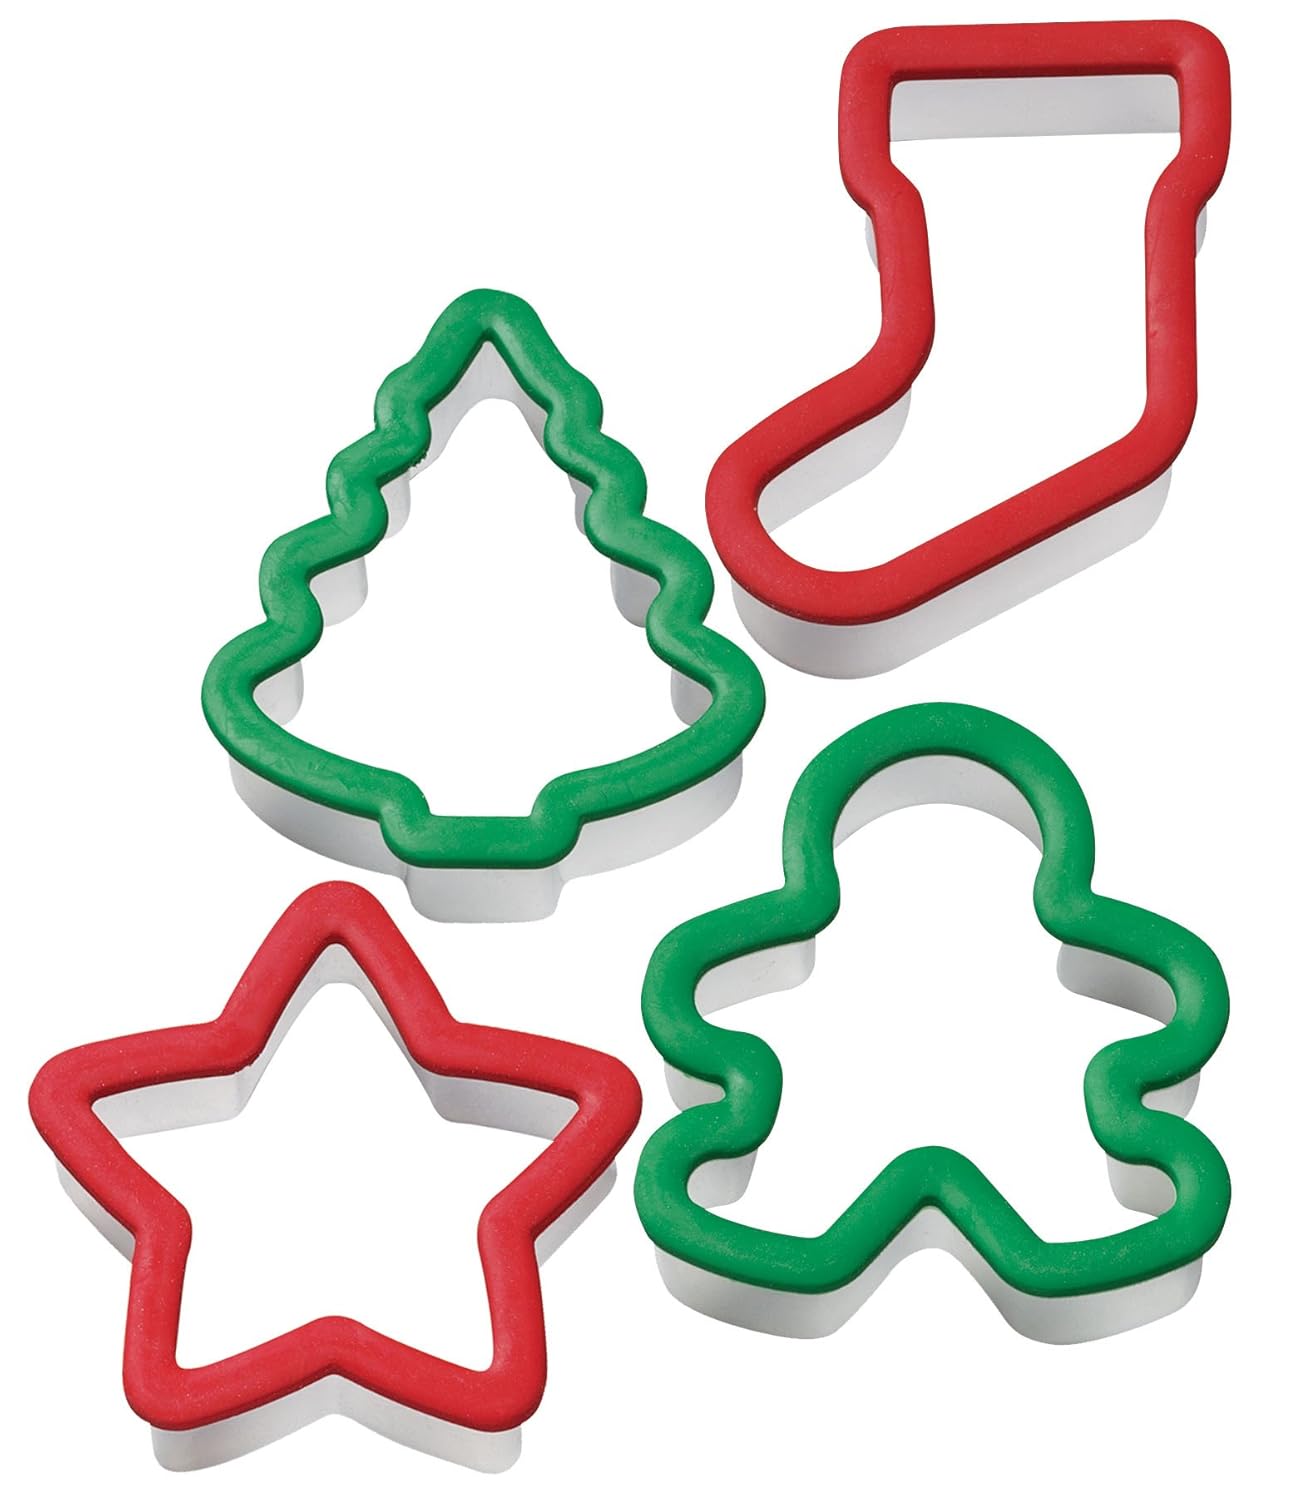
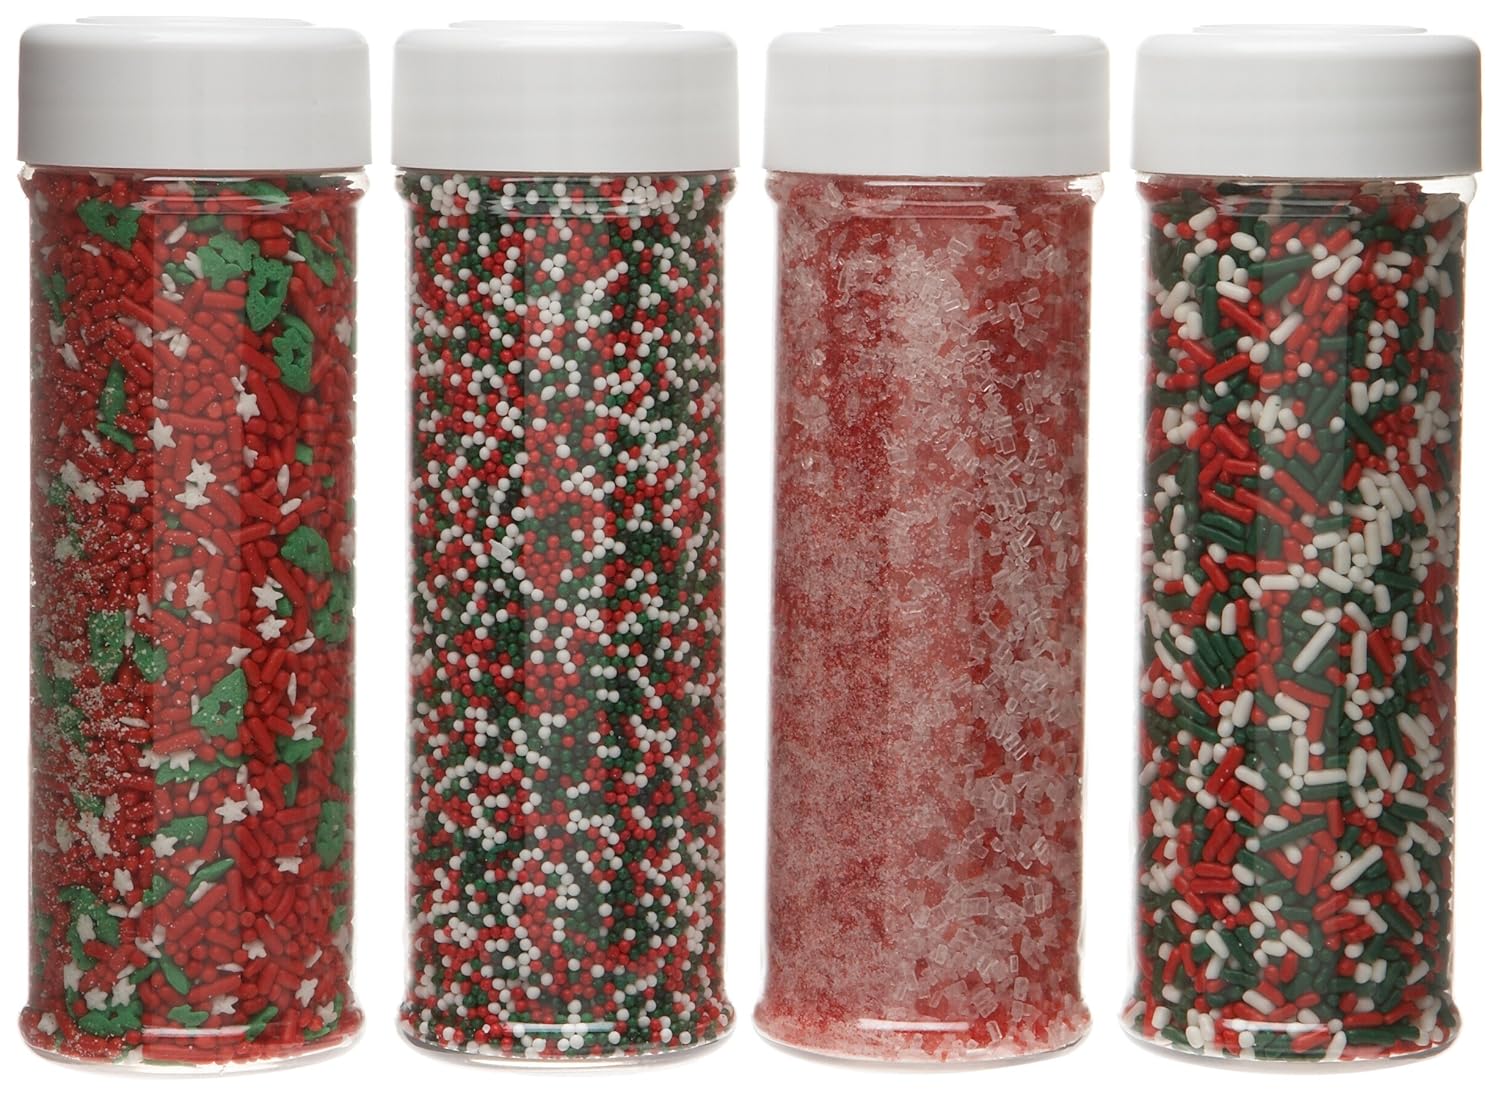
Don't miss your chance to enter this fabulous holiday baking giveaway!  The Frugal Foodie Mama and a few of her friends {like me!} have gotten together to give away a whole bunch of fantastic holiday baking items... things you will need very soon!

What does this lovely prize package include, you ask?


(Because these are very essential. ;) )

**Items listed above are subject to availability per Amazon.  If any of the above items are sold out or unavailable by the close of this giveaway, another similar item(s) of equivalent value will be substituted instead.


*This giveaway is open to U.S. residents only.  All entries for the winner will be checked and verified, so please make sure you are doing what you are claiming in the Rafflecopter or all your entries will be voided.  No funny business, folks. ;)By entering you give the right to use your name and likeness. Number of entries received determines the odds of winning. One winner will be selected. The winner will be notified via the email they provide, and will have 48 hours to reply to the email.  If the winner does not reply back within the 48 hours, they forfeit the prize and a new winner will be chosen via Rafflecopter.  This is a giveaway sponsored as a group buy, which means the bloggers pooled their money together to purchase these products for you.  Amazon is not a sponsor of this giveaway.  The prize package will be sent directly from Carrie of Frugal Foodie Mama via Amazon. Entries must come from your MAIN social media accounts, not accounts that have been set up separately just for entering giveaways.  Entries from these types of accounts will be disqualified.  Protected tweets do not count as an entry method for tweeting. Tweets must come from a public account. Bloggers in this group giveaway and their immediate family members in their household cannot enter or win the giveaway. No purchase necessary. Void where prohibited by law.

Please see the Rafflecopter widget below for additional Terms & Conditions.  Good luck, all! 
Rafflecopter code- a Rafflecopter giveaway
zentMRS - Love in the Kitchen
Pin It

Tuesday, November 19, 2013

Buttery Herb Dinner Rolls


We have rarely had a family dinner that didn't have some kind of dinner rolls.  My favorites as a kid were the square ones that came in a plastic bag.  They always stuck a little bit to the cardboard bottom of the package.  They were soft and always delicious.

These rolls remind me of my childhood family dinners.  Only even better.  And with a bread machine, they are really simple to put together.


Buttery Herb Dinner Rolls


Ingredients:

  • 1 cup water
  • 6 tablespoons butter or margarine, softened
  • 2 egg yolks
  • 4 cups all purpose flour
  • 1/4 cup sugar
  • 1 teaspoon salt
  • 3 teaspoons yeast
  • 2 tablespoons butter, melted
  • 2 tablespoons chopped fresh herbs (oregano, basil or rosemary or any combination work really well)


Directions:

Measure carefully, placing all ingredients except melted butter in bread machine pan in the order recommended by the manufacturer. Select Dough/Manual cycle.

Remove dough from pan, using lightly floured hands. Cover and let rest 10 minutes on lightly floured surface.

Spray a 9x13" baking dish with cooking spray.  Divide dough into 22 equal pieces. Roll each piece into a cylinder and twist into a knot.

Place each roll into the baking dish, leaving a little room between the rolls.


Cover and let rise in warm place 30 to 45 minutes or until double. {Do you ever wonder what it means for the dough to double?  Dough is ready if indentation remains when touched.  Or it looks about like the pan below!}


Heat oven to 375°F. Bake 12 to 15 minutes or until golden brown.   Meanwhile, combine the melted butter and herbs.

Brush tops with melted butter mixture. Serve warm, or cool on wire rack.


These rolls are heavenly.

 Pillow-soft and buttery with the fresh flavor of herbs, these rolls taste like the holidays.


They'll be an instant classic on your holiday table.  And that they are so easy to make can be our secret.


Buttery Herb Dinner Rolls

by Susan Zentmyer
Prep Time: about 3 hours
Cook Time: 15 minutes
Ingredients (22 rolls)
  • 1 cup water
  • 6 tablespoons butter or margarine, softened
  • 2 egg yolks
  • 4 cups all purpose flour
  • 1/4 cup sugar
  • 1 teaspoon salt
  • 3 teaspoons yeast
  • 2 tablespoons butter, melted
  • 2 tablespoons chopped fresh herbs (oregano, basil or rosemary or any combination work really well)
Instructions
Measure carefully, placing all ingredients except melted butter in bread machine pan in the order recommended by the manufacturer. Select Dough/Manual cycle.

Remove dough from pan, using lightly floured hands. Cover and let rest 10 minutes on lightly floured surface.

Spray a 9x13" baking dish with cooking spray. Divide dough into 22 equal pieces. Roll each piece into a cylinder and twist into a knot.

Place each roll into the baking dish, leaving a little room between the rolls.

Cover and let rise in warm place 30 to 45 minutes or until double.

Heat oven to 375°F. Bake 12 to 15 minutes or until golden brown. Meanwhile, combine the melted butter and herbs.

Brush tops with melted butter mixture. Serve warm, or cool on wire rack.
Powered by Recipage


zentMRS - Love in the Kitchen
Pin It

Monday, November 18, 2013

Tuesday's Table for November 19, 2013 - And a *Giveaway*!!


Time to fill Tuesday's Table!

Thanks to everyone who linked up last week.  For this week, I chose Melissa's Cuisine's Cookie Turkeys as my feature.  These are just the cutest cookies ever!  I think they may make an appearance at our Thanksgiving celebration.  And they are so easy to make - wouldn't you like to have them on your table?  You need to head over and see her site.!


Please grab a button  - and thanks so much for sharing!

We also had a giveaway last week.  Picked randomly, the winner is <drumroll>

#55 - Sumptuous Spoonfuls!</drumroll>  Please send me your mailing address and I'll get that out to you right away.


Here's what I'll be giving away this week:

Norpro Silicone Pastry Mat with Measures


To enter, link up your recipes, crafts and ideas. And for each link you add, you will get one entry. And if you send over a friend who follows me and adds a comment telling me who sent them, you get an extra entry!

Only a few guidelines:
  • Please share as many links as you like, but only if you haven't shared them here before
  • Add a link back to Tuesday's Table (or grab a button above!) so others can join in the fun
  • Follow me via Facebook, Pinterest, Twitter, Google+, RSS or Bloglovin (see my sidebar!)
No other requirements, but visit the other links here, and I'd love for you to sign up for my email reminder here!

And now, for this week's link party!


zentMRS - Love in the Kitchen
Pin It

Friday, November 15, 2013

Spiced Rum Pecan Cupcakes with Candied Rum Pecans

We brought back some spiced rum from St. Maarten when we cruised the Caribbean earlier this year.  I knew when I first tasted it that I would need to bake something with it.  And when the Spiked Recipe Challenge ingredient this month turned out to be spiced rum?  The perfect reason to get out that bottle of rum and do some baking.

I used my go-to vanilla cupcake recipe and got creative.  Warning:  this is not your Grandma's rum cake.

I think you'll like this though.  Just as well - maybe even better!


Spiced Rum Pecan Cupcakes with Candied Rum Pecans

Cupcakes
  • 2 2/3 cup all purpose flour
  • 1 1/2 cups sugar
  • 1 tablespoon baking powder
  • 4 egg whites
  • 1/4 cup whole milk
  • 3/4 cup spiced rum
  • 1 tablespoon vanilla
  • 2/3 cup salted butter, softened
  • 3/4 cup chopped pecans


Preheat oven to 350 degrees.

Sift flour, sugar and baking powder into a large mixing bowl and then mix together on low.

In another bowl, stir egg whites, milk, rum and vanilla together.  Add butter to the flour mixture and mix together. As it starts to combine, slowly pour the milk mixture in and mix until completely combined.

Line a muffin tins with 16 baking cups.  Fill baking cups a little more than halfway. Bake for about 15 minutes or until cupcakes bounce back when touched lightly.  Remove and cool. Makes about 16 cupcakes.


Spiced Rum Frosting
  • 1 cup butter, softened
  • 3 teaspoon spiced rum
  • 4 cups confectioner’s sugar
  • 1 teaspoons milk

Beat butter and one teaspoon of rum together.  Add sugar slowly and beat until combined.

Scrape down the sides and add remaining rum and milk. Mix until smooth and creamy.  

Frost the cupcakes generously.

Candied Rum Pecans
  • 1/2 cup pecan halves
  • 1/2 cup sugar
  • 1/4 cup spiced rum

Stir all of the ingredients together in a small saucepan.  Heat over medium-low heat until the sugar is dissolved and the liquid nearly reduced.  Stir frequently.  The nuts will be shiny and a bit sticky.  Let cool and divide among the cupcakes to decorate.


Pecans and spiced rum are a wonderful flavor combination!  These cupcakes had just the right level of rum flavor - and the pecans added a lovely texture.  All of my tasters agreed that the star of the show was the candied rum pecan topping.  


I'm joining Carrie from Frugal Foodie Mama and Julie from This Gal Cooks who are hosting another fun Spiked Recipe Challenge.  Stop over and see the other Spiced Rum entries!



BlogButton


zentMRS - Love in the Kitchen
Pin It

Thursday, November 14, 2013

Habanero Honey Caviar


We watch a number of different cooking shows, which leads me into all sorts of mischief.  Like making my own cheese.  Or grinding my own sausage.

We watched a series of Master Chef UK challenges recently, and I saw one of the contestants make a caviar out of a juice.  Call me intrigued!

So I did a little bit of research on molecular gastronomy {semi-fancy words that mean science in the kitchen to me} and purchased a starter kit from Amazon.  After all, I figured, "How hard could it be?"


Honey Caviar 

Ingredients:

  • 110 g (3.9 oz) habanero (or regular) honey
  • 90 g (3.2 oz) water (filtered water or with low calcium content)
  • 1.6 g sodium alginate (0.8%)
  • 500 g (18 oz) water
  • 2.5 g calcium chloride


Directions:

Prepare the honey mix for the caviar. Mix the sodium alginate in the 90 grams of water using an immersion blender until the sodium alginate is completely dissolved. If this is your first time doing this, be aware that this will take longer than expected.

Mix the sodium alginate and water with the honey using the immersion blender. Let the mix rest in the fridge for 12 hours to eliminate the air bubbles created by the immersion blender.

Once the mix has no air bubbles remove it from the fridge until it reaches room temperature - this will help make the mixture easier to drop into the calcium bath.

Prepare the calcium bath in a bowl by dissolving the calcium chloride in the water.

Fill a syringe with the honey-alginate mixture and expel it drop by drop into the calcium bath. The syringe needs to be high enough (about 6 inches from the bath surface) for the drops to sink and to prevent the formation of a tail.  {I found the mixture to be very thick and used a knife to cut the drops.}


They come out like this!


Leave the caviar "cooking" for about 1 minute in the calcium bath and then carefully remove it using a sieve. Then rinse it very gently with water to remove the calcium.

Consume immediately since the jellification process continues even after removing the caviar from the calcium bath and will eventually convert into a solid gel sphere with no magical liquid inside.


This was a really fun experiment!  I served it with a spiced almond ice cream and it was fantastic!  The preparation was not that difficult {once I had made a few anyway} and I really liked the way it looked when finished.


Do you do science experiments in your kitchen?


zentMRS - Love in the Kitchen
Pin It

Wednesday, November 13, 2013

Fancy Brownie Tartlets


With holiday parties and events right around the corner, you will want to have the ingredients for this pretty but oh-so-simple dessert on hand.


Fancy Brownie Tartlets

Ingredients:

  • 4 squares (1 ounce each) unsweetened chocolate
  • 4 tbsp. butter (1/2 stick)
  • 3/4 cup sugar
  • 2 eggs
  • 1 tsp. vanilla extract
  • 2 tbsp. all-purpose flour
  • 1/2 of a 17.3-ounce package Pepperidge Farm® Puff Pastry Sheets (1 sheet), thawed
  • Confectioners' sugar
  • 1/2 cup fresh raspberries
  • 2 tablespoons red jelly (such as plum)


Directions:

Heat the oven to 400°F.

Place the chocolate and butter in a large microwave-safe bowl. Microwave on HIGH for 1 minute or until the butter is melted. Stir until the mixture is smooth.

Stir the sugar into the chocolate mixture. Stir in the eggs and vanilla until the mixture is well blended. Stir in the flour until the mixture is smooth.

Unfold the pastry sheet on a lightly floured surface. Roll the pastry sheet into a 15 x12-inch rectangle. Cut the pastry into 20 (3-inch) squares. Press the squares into 20 (3-inch) muffin-pan cups. Spoon about 1 tablespoon chocolate mixture into each square.

Bake the pastries for 18 minutes or they're until golden brown. Remove the pastries from the muffin-pans and cool on wire racks for 10 minutes.

Meanwhile, microwave the jelly in a small bowl for 15 - 30 seconds, or until the jelly is liquid.  Drop the raspberries into the bowl and stir gently to coat them in the jelly.

Decorate the tartlets with a raspberry or with confectioners' sugar as desired.


You could use nuts or even pieces of candy {I used some of my Ghost Pepper Almond Brittle - delicious!} to decorate the tops.


However they are decorated, they will not stay on the plate very long!


zentMRS - Love in the Kitchen
Pin It

Monday, November 11, 2013

Tuesday's Table for November 12, 2013 - And a *Giveaway*!!


Time to fill Tuesday's Table!

Thanks to everyone who linked up last week.  For this week, I chose Couponing and Cooking's Peppermint Bark Donuts as my feature.  I wasn't quite sure I was ready to see Christmas flavors yet, but this put me right over the edge!  You need to head over and see her site.!


Please grab a button  - and thanks so much for sharing!

We also had a giveaway last week.  Picked randomly, the winner is <drumroll>

#44- Taylor Made Ranch!</drumroll>  Please send me your mailing address and I'll get that out to you right away.


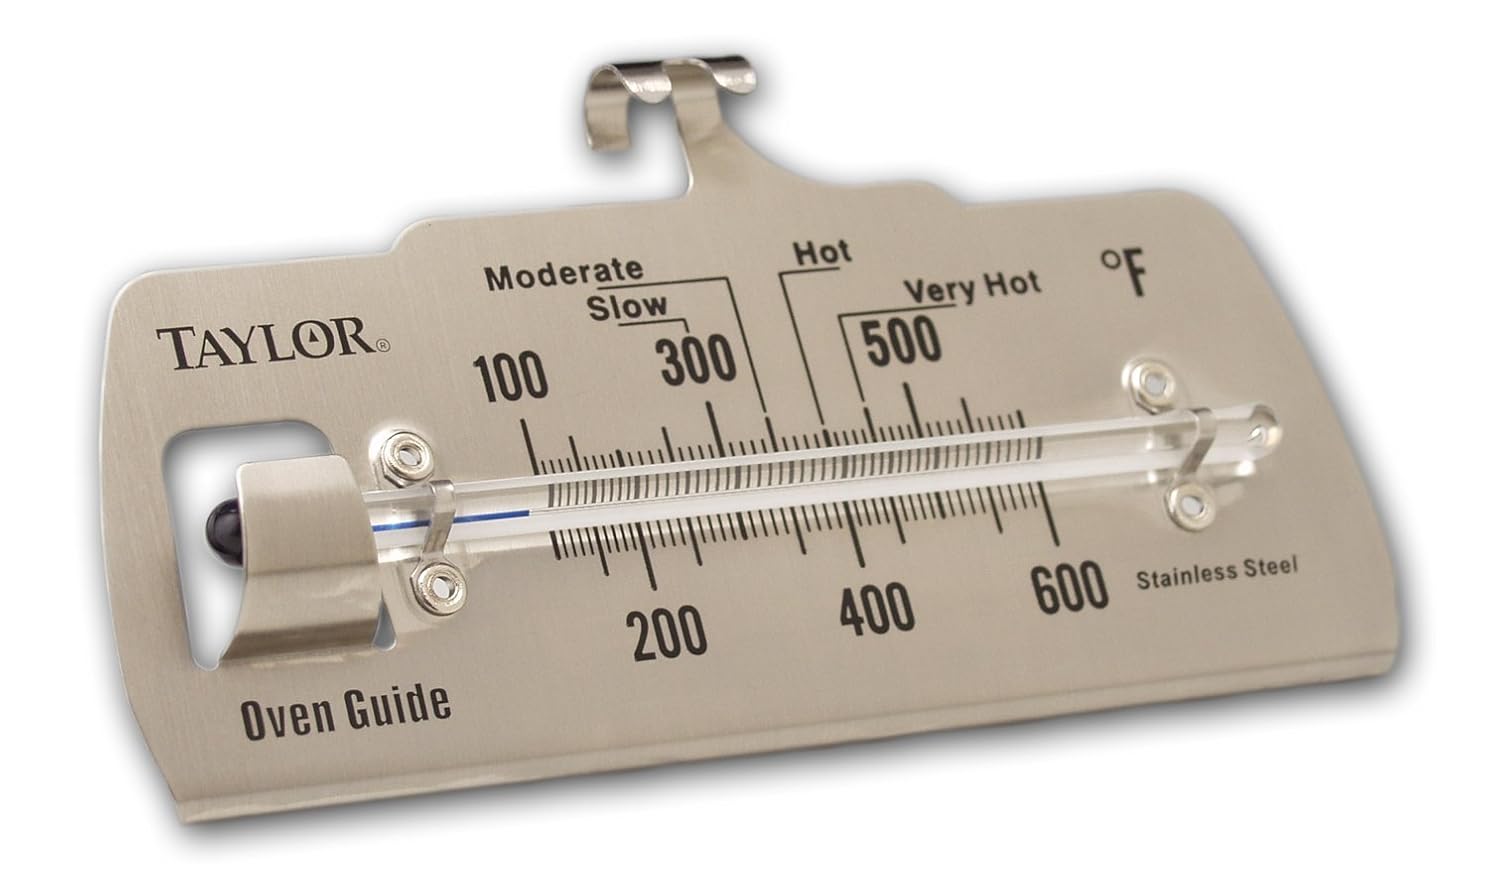
Here's what I'll be giving away this week:

Taylor Oven Guide Thermometer


To enter, link up your recipes, crafts and ideas. And for each link you add, you will get one entry. And if you send over a friend who follows me and adds a comment telling me who sent them, you get an extra entry!

Only a few guidelines:
  • Please share as many links as you like, but only if you haven't shared them here before
  • Add a link back to Tuesday's Table (or grab a button above!) so others can join in the fun
  • Follow me via Facebook, Pinterest, Twitter, Google+, RSS or Bloglovin (see my sidebar!)
No other requirements, but visit the other links here, and I'd love for you to sign up for my email reminder here!

And now, for this week's link party!


zentMRS - Love in the Kitchen
Pin It

Friday, November 08, 2013

We're Crazy For Cranberry!


I love seeing the cranberries come into the stores this time of year.  Cranberry sauce is super easy to make, and tastes much better made from scratch than the canned version.  You'll find too, that cranberries aren't just for cranberry sauce anymore!

Here are some of my favorite cranberry dishes:


Pastry Cornucopia with Cranberry Mousse: These pastry cornucopias were really pretty easy to make, and filled with {yummy} cranberry mousse made a perfect alternative to pumpkin pie.

Kicked Up Cranberry Jam:  Cranberry sauce, with jalapenos, for your toast.

Cranberry Apple Pumpkin Bundt Cake:  One of my favorite cakes -all the flavors of fall.  In a cake.  Does it get better?

Cranberry Sauce:  Traditional cranberry sauce is easy to make.  And easy to can for later!

Pork Loin with Cranberry Balsamic Vinegar Sauce:  Cranberry and balsamic vinegar taste great together - and are a great flavor companion for pork.

Cranberry Couscous:  Creamy and tart.  Pretty too.  Wouldn't it look good next to your turkey?

Chocolate Cranberry Cupcakes:  Chocolate and cranberries are another great match.

Mulled Cranberry Apple Cider:  This warm, comforting drink is easy to prepare and is a great finale for a holiday meal.


Which of these tickle your fancy?


zentMRS - Love in the Kitchen
Pin It

Thursday, November 07, 2013

Best Ever Southern Cornbread


I'm participating in a Virtual Recipe Swap where we all shared a favorite family recipe.  We get matched with another blogger - they make our recipe and we make theirs.

I was lucky to draw Heather who blogs at The Homesteading Hippy.  Her blog is incredible - packed full of great ideas.  The recipe she shared with me was her Best Ever Southern Cornbread.  Like me, Heather is not from the South, but her husband is and she perfected this recipe to satisfy his Southern soul.  I loved this recipe and hope that I did it justice.


Best Ever Southern Cornbread

Ingredients:

  • 1½ cups ground cornmeal
  • ½ cup whole wheat flour (I used all purpose flour)
  • ½ cup granulated sugar
  • 1 teaspoon salt
  • 2 teaspoons baking powder
  • 1 teaspoon baking soda
  • 1½ cups buttermilk
  • 2 eggs
  • 8 tablespoons melted, unsalted butter


Directions:
Preheat the oven to 400°. While it is heating, place the butter in a cast iron skillet to melt.

In a large mixing bowl, add the dry ingredients and blend.  In a separate bowl, mix the buttermilk and egg and mix well.  Blend the wet ingredients into the dry until just moist.

Add the melted butter from the skillet, saving a bit in the pan.


Swirl remaining butter in pan to coat.  Pour cornbread batter in the skillet.


Bake for 25-30 minutes, until golden brown. Dot with butter on top after removing from oven.


Although, being a Yankee, I can't comment on the authenticity of this Southern Cornbread, I can certainly tell you that it is indeed delicious!  It is light and moist, and has just a touch of sweetness.  I loved baking it in my cast iron skillet - I think that is what gave it the delightful crispy crust.


And Heather was right - a slice of this makes a fantastic breakfast the next day if you have leftovers.


I've made some (which is waiting patiently in my freezer) to use with a great cornbread stuffing recipe - keep an eye out for it!  Thanks so much Heather for sharing your recipe!


theFoodette


zentMRS - Love in the Kitchen
Pin It