Love in the Kitchen - making fast, healthy, homegrown meals you'll enjoy

Sunday, August 11, 2013

Ghost Pepper Almond Brittle


We're growing ghost peppers again this summer.  The first of the traditionally-planted peppers are just starting to ripen (the hydroponics will be a few more weeks, but we're going to have hundreds of them) and I wanted to do something sweet with them.  So I took the ghosts (along with a few Scotch Bonnets) and used them instead of jalapenos in my jalapeno peanut brittle recipe.  And wow was it delicious!


Ghost Pepper Almond Brittle

Ingredients:

  • 1 1/2 teaspoons baking soda
  • 1 teaspoon water
  • 1 teaspoon vanilla
  • 1 1/2 cups sugar
  • 1 cup water
  • 1 cup light corn syrup
  • 3 tablespoons butter or margarine
  • 1 pound almonds and pecans
  • 2 tablespoons finely chopped hot peppers {I used ghost and Scotch Bonnets - if you can't find them , habaneros have a similar flavor profile and make a good substitute}


Directions:

Heat oven to 200ºF. Butter 2 cookie sheets, 15 1/2x12 inches, and keep warm in oven. This is going to help you spread the brittle on the sheet thinly before it hardens.

Mix baking soda, 1 teaspoon water and the vanilla, and set aside

Finely chop the peppers and set aside.


Mix sugar, 1 cup water and the corn syrup in 3-quart saucepan. Cook over medium heat, stirring occasionally, to 240ºF on candy thermometer or until small amount of syrup dropped into very cold water forms a soft ball that flattens when removed from water.


Stir in butter and peanuts. Cook, stirring constantly, to 300ºF or until small amount of mixture dropped into very cold water separates into hard, brittle threads. (Watch carefully so mixture does not burn.)  {What is happening here - as the sugar syrup is cooked, water boils away, the sugar concentration increases, and the temperature rises.  At 300ºF, there is almost no water left in the syrup.  And when it cools, it will be hard and brittle.}

Immediately remove from heat. Quickly stir in the chopped peppers, baking soda mixture until light and foamy.

Pour half the candy mixture onto each cookie sheet; quickly spread about 1/4 inch thick.


Cool completely, at least 1 hour. Break into pieces. Store in an airtight container and do not refrigerate.


This was just fantastic.  Tastes sweet and salty, and the heat comes out towards the end of the bite.  It's super addicting - though it has some heat, it is not overwhelming and leaves you wanting another piece.  If you like spicy things at all, this is a recipe you need to try!



zentMRS - Love in the Kitchen
Pin It

Friday, August 09, 2013

Pizza on the Grill - in 30 Minutes!


Our family loves pizza.  And while I love the convenience of having someone deliver pizza to my door, I don't always love the pizza.

This recipe takes about the same amount of time to make as the pizza places take to deliver... and I can make it exactly how I like it!  And it is really easy - this is a must-try.


30 Minute Pizza on the Grill

Ingredients:
  • 1 (.25 ounce) package active dry yeast
  • 1 teaspoon white sugar
  • 1 cup warm water (110 degrees F/45 degrees C)
  • 2 1/2 cups bread flour
  • 2 tablespoons olive oil
  • 1 teaspoon salt
  • 1 1/2 cups prepared pizza sauce
  • your favorite toppings - be as traditional or as creative as you like!


Directions:

Preheat grill (or preheat oven to 450 degrees F). In a medium bowl, dissolve yeast and sugar in warm water. Let stand until creamy, about 10 minutes.


Stir in flour, salt and oil. Beat until smooth. Let rest for 5 minutes.


Turn dough out onto a lightly floured surface and pat or roll into a round. Transfer crust to a lightly greased pizza pan or pizza stone dusted with cornmeal.  {We purchased a box of untreated ceramic tiles at Home Depot just for this purpose.  They often crack after a couple of uses, but the whole box -12 tiles I think - was about $9.  They work both on the grill or in the oven.}


Spread with pizza sauce and your desired toppings.


Bake in preheated grill (or oven for) 15 to 20 minutes, or until golden brown.


Let baked pizza cool for 5 minutes before serving.


Just perfect!  This crust is a really nice balance between a thin crispy crust (my favorite) and thick deep-dish style crust (The Mr's preference).  Nice and crispy on the bottom, but light and tasty with enough body to hold the pizza toppings.  We added plenty of hot peppers on top (spicy!) but The Boy's 3-cheese was just as tasty.


And in 30 minutes?  How can you go wrong?!


zentMRS - Love in the Kitchen
Pin It

Tuesday, August 06, 2013

$400 Paypal Cash Giveaway

Carrie from Frugal Foodie Mama reached her goal of 10,000 Pinterest followers!  To celebrate, she and a bunch of other bloggers, including myself, came together to bring you this PayPal Cash $400 Giveaway!


Read about how to enter (and do enter this one!!) from Carrie below:


Sooooo... last week some of you all may have noticed my little announcement on Facebook that I finally reached a blogging milestone that had been eluding me for a little while now... 
I reached over 10,000 Pinterest followers!!  I finally hit 5 figures! ;)

I knew a milestone like this was cause for a HUGE celebration on the blog.  And when I say celebration, you all really know that I mean GIVEAWAY!

I asked just *a few* of my favorite bloggy friends to join the party and help me in celebrating.  How are we celebrating?  By helping one of you make your Pinterest dreams a reality with a $400 Paypal Cash Giveaway- the biggest giveaway ever hosted on Frugal Foodie Mama!

How many of you all have Pinterest projects and ideas that you have had pinned for months, longing to do them, but maybe the price tag is holding you back?  
*Raising hand here*
Would $400 to spend any way and anywhere you would like help out just a little with that?
Yeah.... I thought so. ;)

Of course if you win, you can spend the Paypal cash any way that you would like.  But how fun would it be to finally splurge on a little something you have had pinned away on one of your Pinterest boards??

If you do not have a Paypal account presently, you WILL have to set up one if you win.  I will only be able to transfer the funds via Paypal.  Paypal is great because it is accepted with most online shops and you can transfer funds to your checking account once you have connected the two. :)  Pretty cool, right?

Please read through ALL the giveaway terms and conditions below.  I am a stickler for them.  No joke, folks.

*This giveaway is open internationally.  All entries for the winner will be checked and verified, so please make sure you are doing what you are claiming in the Rafflecopter or all your entries will be voided.  No funny business, folks. ;). By entering you give the right to use your name and likeness. Number of entries received determines the odds of winning. One winner will be selected. The winner will be notified via the email they provide, and will have 48 hours to reply to the email.  If the winner does not reply back within the 48 hours, they forfeit the prize and a new winner will be chosen via Rafflecopter.  This is a giveaway sponsored as a group buy, which means the bloggers pooled their money together to purchase this product for you.  Paypal is not a sponsor of this giveaway.  The cash prize will be sent via Paypal directly from Carrie of Frugal Foodie Mama.  You must have an active Paypal account to receive the cash prize!  Entries must come from your MAIN social media accounts, not accounts that have been set up separately just for entering giveaways.  Entries from these types of accounts will be disqualified.  Protected tweets do not count as an entry method for tweeting. Tweets must come from a public account. Bloggers in this group giveaway and their immediate family members in their household cannot enter or win the giveaway. No purchase necessary. Void where prohibited by law.
Please see the Rafflecopter widget below for additional Terms & Conditions.  Good luck, all! 
a Rafflecopter giveaway


zentMRS - Love in the Kitchen
Pin It

Monday, August 05, 2013

Tuesday's Table for August 6, 2013 - And a *Giveaway*!!


Time to fill Tuesday's Table!

Thanks to everyone who linked up last week - we had a fantastic week!  I chose The Pin Junkie's White Wine Sangria as my feature. I've had a couple of killer weeks at work and this looks like a fabulous way to unwind on my porch.  You need to head over and see this recipe.!


Please grab a button  - and thanks so much for sharing!


We also had a giveaway last week.  Picked randomly, the winner is <drumroll>

#52- Annamaria at Bakewell Junction!</drumroll>  Please send me your mailing address and I'll get that out to you right away.


Here's what I'll be giving away this week:

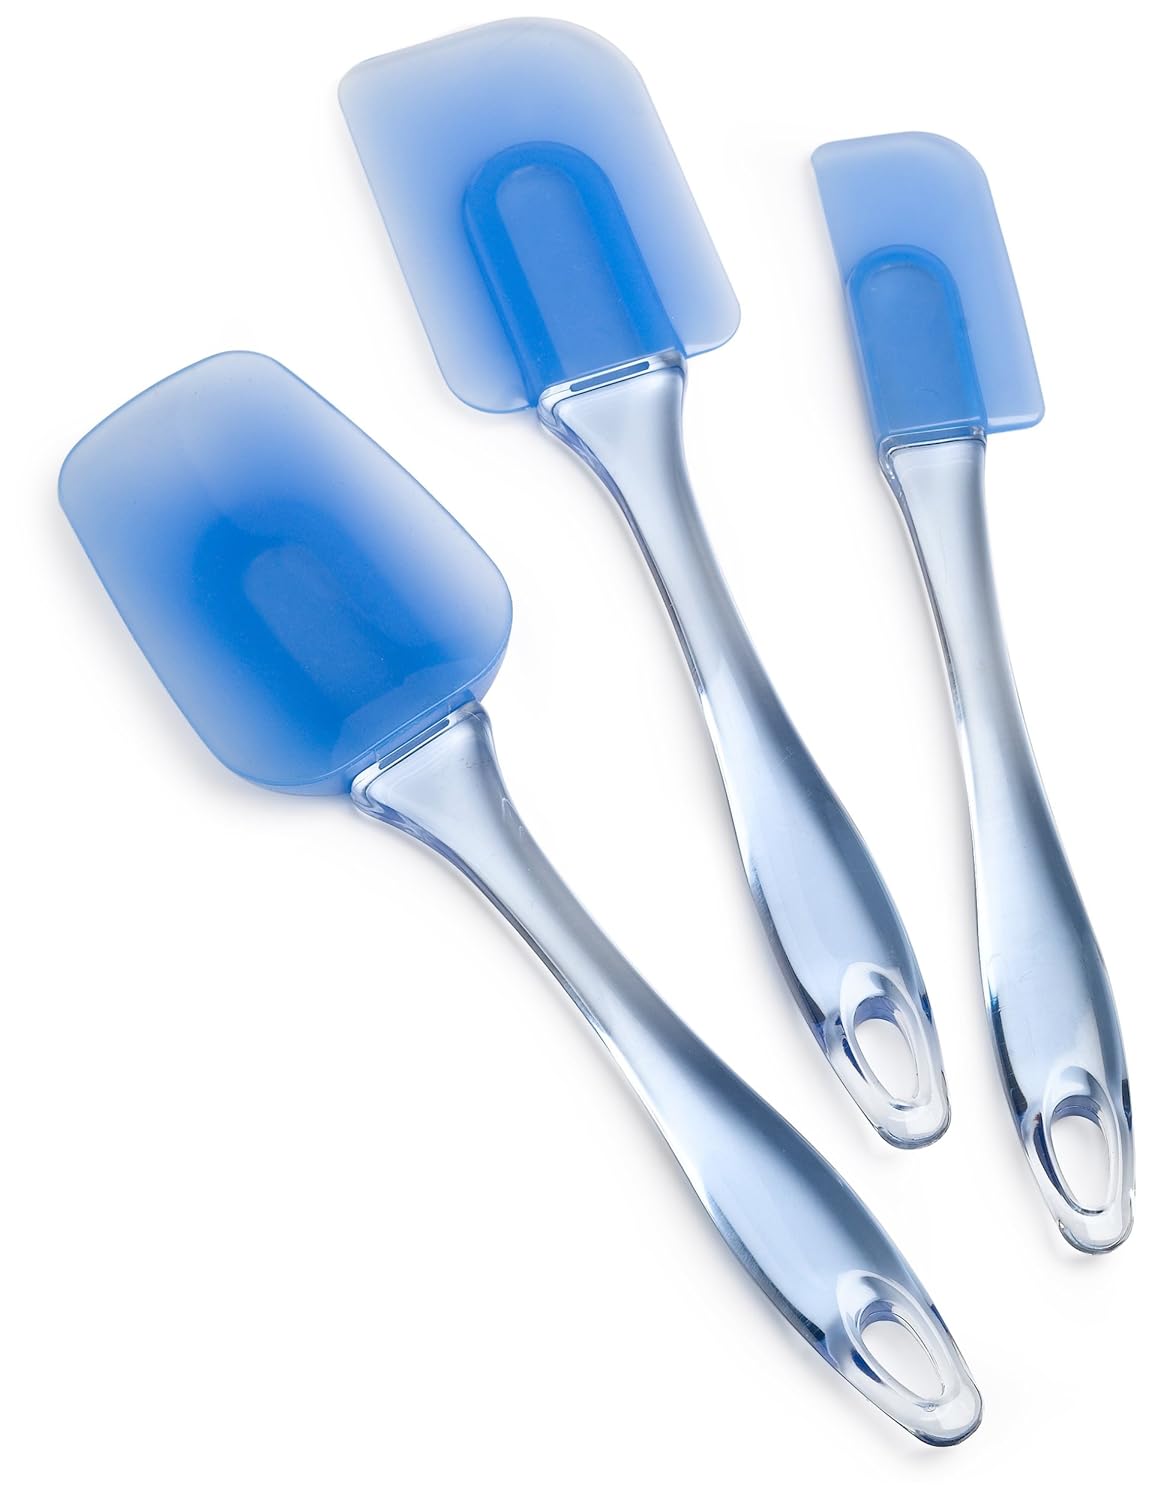
Wilton 570-1121 Easy Flex 3-Piece Silicone Spatula Set, Blue


To enter, link up your recipes, crafts and ideas. And for each link you add, you will get one entry. And if you send over a friend who follows me and adds a comment telling me who sent them, you get an extra entry!

Only a few guidelines:
  • Please share as many links as you like, but only if you haven't shared them here before.  
  • Add a link back to Tuesday's Table (or grab a button above!) so others can join in the fun.  
  • Follow me via Google+ or Bloglovin.
No other requirements, but visit the other links here, and I'd love for you to sign up for my email reminder here!

And now, for this week's link party!


zentMRS - Love in the Kitchen
Pin It

Wednesday, July 31, 2013

A Surf and Turf Dessert

Looking for a simple and utterly cute dessert?  This totally fits the bill.


Oh, and these too.


I'm guest posting over at Addicted to Recipes today - click over there to find out how easy it is to get these cuties on the table!


zentMRS - Love in the Kitchen


Pin It

Monday, July 29, 2013

Tuesday's Table for July 30, 2013 - And a *Giveaway*!!


Time to fill Tuesday's Table!

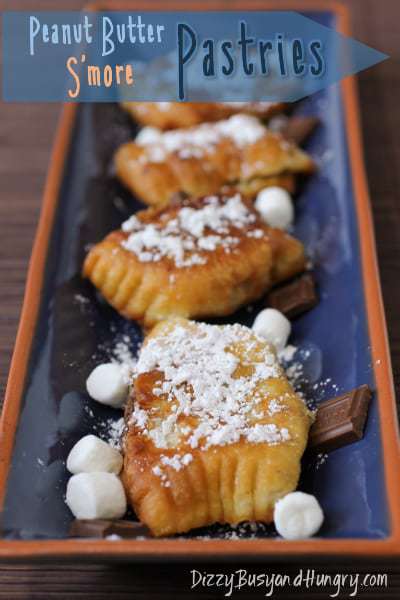
Thanks to everyone who linked up last week - we had a fantastic week!  I chose Dizzy Busy and Hungry's Peanut Butter S'more Pastries as my feature. Oh my, do these look tasty!  The best of S'mores... with peanut butter and no mess.  Yum!  You need to head over and see this recipe.!


Please grab a button  - and thanks so much for sharing!


We also had a giveaway last week.  Picked randomly, the winner is <drumroll>

#25- Chaya at Bizzy Bakes!</drumroll>  Please send me your mailing address and I'll get that out to you right away.


Here's what I'll be giving away this week:

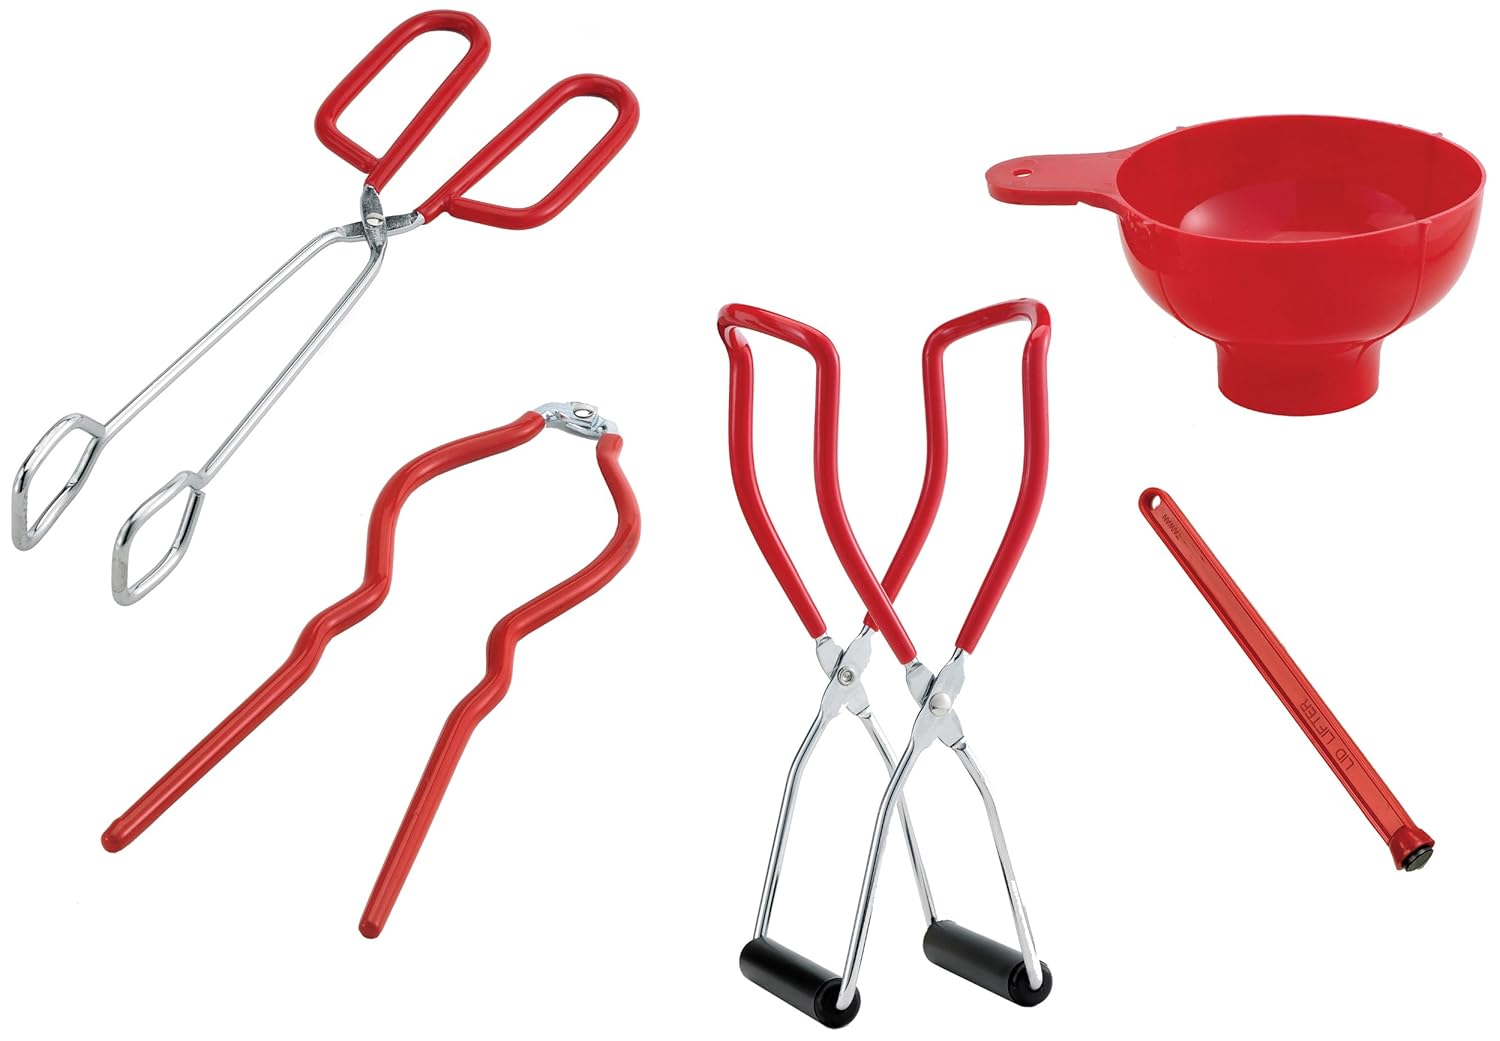
5-Piece Canning Set


To enter, link up your recipes, crafts and ideas. And for each link you add, you will get one entry. And if you send over a friend who follows me and adds a comment telling me who sent them, you get an extra entry!

Only a few guidelines:
  • Please share as many links as you like, but only if you haven't shared them here before.  
  • Add a link back to Tuesday's Table (or grab a button above!) so others can join in the fun.  
  • Follow me via Google+ or Bloglovin.
No other requirements, but visit the other links here, and I'd love for you to sign up for my email reminder here!

And now, for this week's link party!


zentMRS - Love in the Kitchen
Pin It

Friday, July 26, 2013

Homemade Drumsticks: Ice Cream Cones, Magic Shell and Sprinkles!


Growing up, one of my favorite treats came from the freezer - Drumsticks Sundae Ice Cream Cones.  They had everything - chocolate, ice cream, nuts and cookie-cone.  Delicious!

I've been making lots of ice cream lately, so when it {finally} occurred to me to wonder whether I could make Drumsticks at home, I immediately said "how hard could it be?"

And it turns out, really not that hard at all!  Simply put, you will need:


  • Ice Cream
  • Cones
  • Magic Shell
  • Toppings

While you could buy all of these components, they are really quite easy to make, and the homemade versions taste so much better.  Here's how:

For the Ice Cream:

  • 2 cups half-and-half cream (fat-free works well)
  • 1/4 cup heavy cream
  • 1/2 cup white sugar
  • 1 teaspoon vanilla extract
  • 1/4 teaspoon salt
Combine half-and-half, cream, sugar, vanilla and salt in a bowl.  Stir until the sugar is mostly incorporated.  Add to the freezer container of your ice cream maker and freeze according to manufacturer's instructions.


I made the cones while the ice cream was freezing.


For the Cones:

  • 2 large egg whites
  • 1/2 cup sugar
  • 1/2 teaspoon vanilla extract
  • 1/8 teaspoon salt
  • 2/3 cup flour
  • 2 tablespoons melted butter

 In a small bowl stir together the egg whites, sugar and vanilla. Add the salt and half the flour, stir, then stir in the melted butter. Beat in the remaining flour until the batter is combined.


Preheat the pizzelle iron (you can also use a panini press).   Add one spoonful of batter to each of two spaces - see below.  {I made them two at a time as they need to be formed quite quickly or they won't curve into a cone.}


When they are a nice golden-brown, form around a cone shape.  It doesn't matter what the cone is, just that it is the right shape - cover it with aluminum foil and spray with cooking oil before shaping your cones.


You will need to work quickly here as these cool and harden very quickly.


Once formed, set each cone aside to cool completely.  Continue with the remaining batter.


For the Magic Shell:


  • 1 cup milk or dark chocolate chips
  • 2 tablespoons coconut oil


Add chocolate chips and coconut oil to a microwave-safe bowl. Stir together and then microwave in 30-second increments until the chocolate chips have completely softened. Remove from microwave and stir together until smooth.


Assembling the Drumsticks:

Spoon a few tablespoons of magic shell into your cone, and spread through out to coat the inside of the cone.


If your cones have a small hole at the bottom (a number of mine did!) add a bit more magic shell to make sure that it is sealed.  You can also dip the bottom of the cone in the magic shell.  Set the cones on a baking sheet and put in the freezer to harden for 5 - 10 minutes.


Once the magic shell has set, fill the cones with ice cream.  {I put mine in the freezer for 20 minutes after filling because my ice cream was reasonably soft.}


Dip the tops of the cones in the magic shell...


... and quickly dip into the topping.  I used both rainbow sprinkles {a favorite with the kids who ate them} and a mixture of nuts and Heath Bar Crunch piece {my personal favorite}.  Place back into the freezer until ready to serve.


These were really delicious.  And super-fun!


I used vanilla ice cream and chocolate magic shell, but you could go in any direction with either of those - and with the toppings.  With so many flavor possibilities, which would you like to try first?  Something exotic?  Or an old favorite?


zentMRS - Love in the Kitchen
Pin It